Step 2 - Use Overpass to Create an OpenStreetMap Extract
In this step, we'll use Overpass Turbo to extract the Te Ara Hura trail data from OpenStreetMap.
Extract Te Ara Hura Data from OpenStreetMap
The trail is stored as relation 6170321 in OpenStreetMap. Visit the OpenStreetMap wiki for more about OpenStreetMap data types.
About Te Ara Hura
Te Ara Hura (The Wandering Path) is a collection of walks to explore Waiheke Island and discover its natural beauty. The trail network includes coastline walks, native bush paths, and visits to historic sites. Learn more on the Auckland Council website.
Export the Trail Relation from OpenStreetMap
-
Go to Overpass Turbo: Visit https://overpass-turbo.eu/
-
Paste this query into the query window:
/* Te Ara Hura Trail - Waiheke Island */
[out:json][timeout:25];

// Store the relation
rel(6170321)->.rel;

// Get member ways and their nodes
(
  way(r.rel);
  node(w); // nodes of the ways
)->.ways_and_nodes;

// Get member nodes that are *direct* members of the relation
node(r.rel)->.standalone_nodes;

// Combine all
(
  .ways_and_nodes;
  .standalone_nodes;
);
out body;
-
Run the query: Click the "Run" button (or press Ctrl+Enter)
-
Wait for results: Once the query executes, the trail will appear on the map. Press the magnifying glass icon to zoom to the data.
-
Verify the data: You should see the Te Ara Hura trail network displayed on Waiheke Island, as a series of circles (nodes) and lines (ways).
Download as GeoJSON
-
Download the data: Click the "Export" button
-
In the Export panel, find the GeoJSON section and click Download. Rename the export as
te_ara_hura.geojson
Save to Your Repository
- Copy the file to your repository:
Place the file in the sources/ folder in your repository. If you are using Codespaces, right click on the folder and select "Upload". If you are working locally, drag and drop the renamed file.
Commit and Upload to GitHub
Now let's save your progress to GitHub:
-
Commit the file:
Using VS Code:
- Open the Source Control panel (icon on the left sidebar, or
Ctrl+Shift+G) - You should see
sources/te_ara_hura.geojsonlisted as a new file - Click the "+" icon next to it to stage the file
- Enter a commit message: "Add Te Ara Hura trail GeoJSON"
- Click the checkmark to commit
- Click the "Sync Changes" button (or "Push") to upload to GitHub
Using the command line:
git add sources/te_ara_hura.geojson git commit -m "Add Te Ara Hura trail GeoJSON" git push origin main - Open the Source Control panel (icon on the left sidebar, or
-
View your GeoJSON on GitHub:
- Go to your repository on GitHub (https://github.com/YOUR-USERNAME/standalone_web_maps_foss4g2025)
- Navigate to
sources/te_ara_hura.geojson - Click on the file to view it
- GitHub will automatically render the GeoJSON as an interactive map showing the trail network
- Switch from "Preview" to "Code" to see the structure of the data directly
Understanding the Data
The GeoJSON file contains:
- Trail geometry: The paths that make up the Te Ara Hura network
- Trail segments: Individual way segments that connect to form the complete trail
- Properties: Metadata about the trail (name, network, operator, etc.)
What You Have Now
At the end of this step, you should have:
sources/te_ara_hura.geojson- The trail data is stored in the cloud and ready to display on your map
This GeoJSON file will be loaded and displayed on your map in the next steps.
Your Map Preview
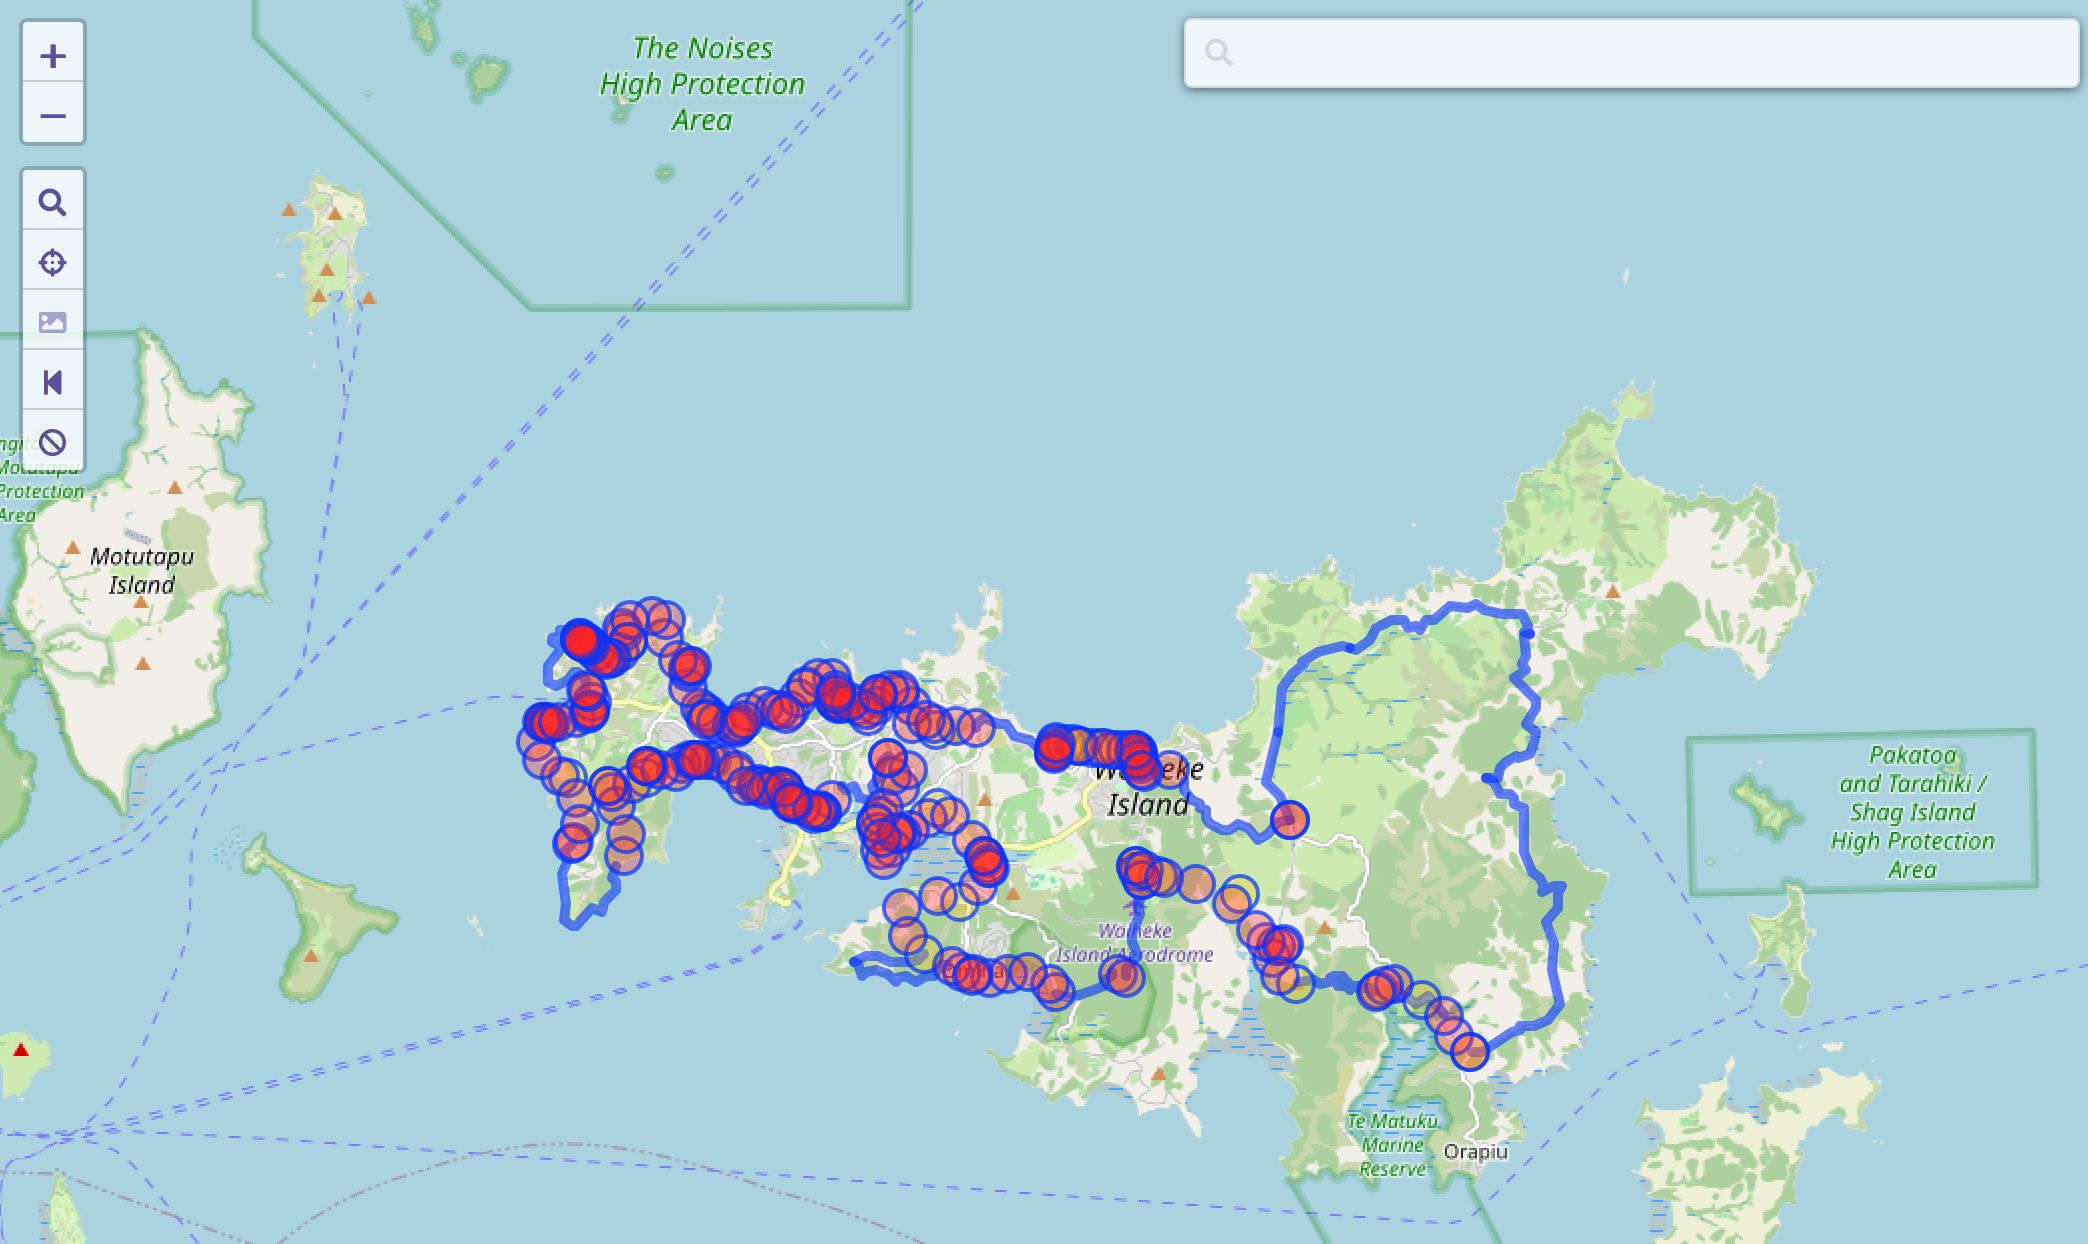
This is what Te Ara Hura looks like in Overpass
← Previous: Step 1 | Next: Step 3 - Use Maplibre to Render Your Map →